Ever dream of baking a picture-perfect loaf of bread, only to end up with a stubborn disc? We've all been there. One of the most common roadblocks in the path of achieving that perfect loaf is a dough that refuses to rise. Don't worry, bread baking isn't magic (although sometimes it feels that way!). You'll be surprised to know that even the most seasoned bakers have ended up with a flat dough. Let's find out the common mistakes you might be making that can prevent your dough from reaching its full potential, and ensure your next bake produces a beautiful rise.
Also Read: Make Healthy Brown Bread With Wheat Flour At Home
Here Are 5 Common Mistakes That Are Preventing Your Bread Dough To Rise:
Mistake No. 1 - Are You Using The Wrong Yeast?
- Dead or Inactive Yeast: This is the most likely culprit. Ensure your yeast is fresh by checking the expiration date and performing a simple activation test. Combine warm water (around 105 degrees F) with a pinch of sugar and the yeast. If it doesn't foam up within a few minutes, your yeast is no good.
- Liquid Temperature: Yeast is a living organism, and like us, it thrives in a warm, comfortable environment. Lukewarm water (around 105 degrees F) is ideal. Scalding hot water will kill the yeast, while cold water will make it sluggish.
Mistake No. 2 - Do You Use The Ingredients Improperly?
- Improper Measurement: Baking is a science, and precision matters. Invest in a good kitchen scale for accurate measurements. Too much flour can make the dough tough and hinder rise, while too little will result in a sticky mess that lacks structure.
- Salt on the Yeast: Salt can inhibit yeast activity. Always add salt after the yeast has been incorporated into the wet ingredients.
Also Read: Roti Versus Brown Bread. Which One is Healthier?

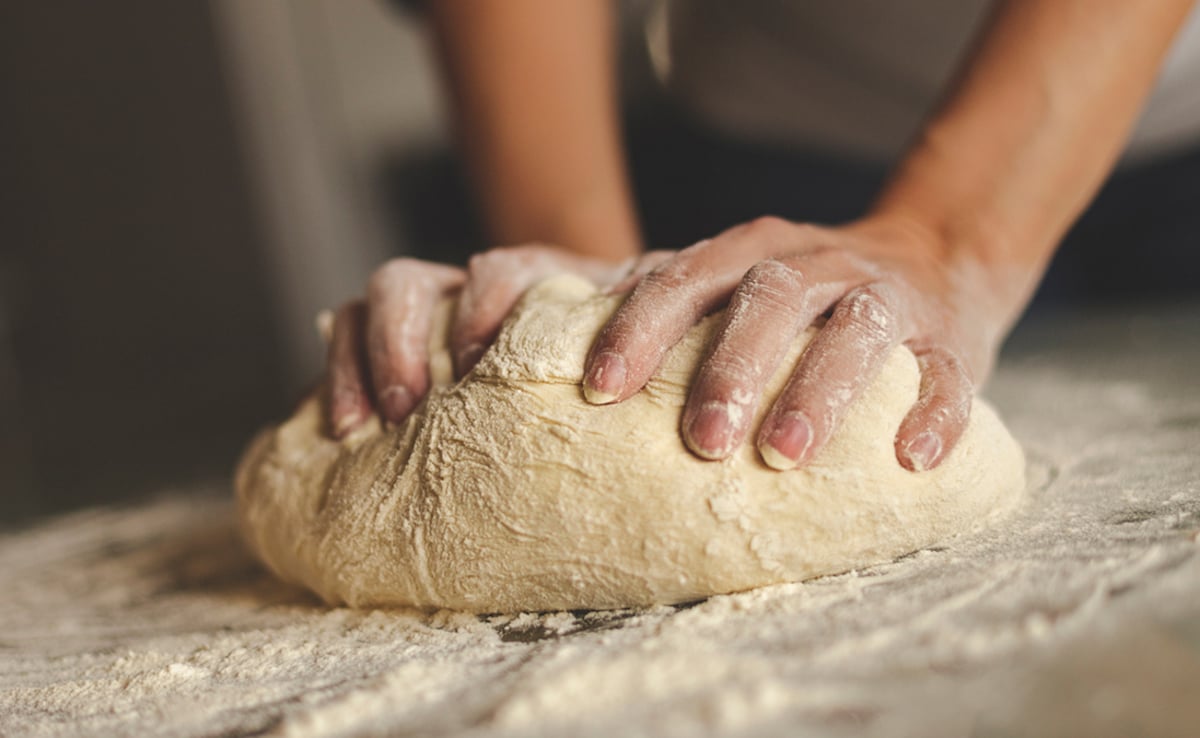
Kneading the dough properly is important to make perfect bread. Image Credit: iStock
Mistake No. 3 - Are You Kneading The Dough Carelessly?
- Under-kneading: Kneading develops the gluten network in flour, which is essential for trapping the carbon dioxide produced by the yeast, allowing the dough to rise. Insufficient kneading results in a weak dough that won't hold its shape and won't rise properly.
- Over-kneading: While kneading is important, it's also possible to overdo it. The over-kneaded dough becomes tough and elastic, with poor rise potential. Aim for a smooth, elastic dough that springs back when poked gently.
Mistake No. 4 - Do You Ignore Proofing?
- Temperature: Dough needs a warm environment to rise effectively. Ideally, aim for a temperature between 70-80 degrees F. A cool kitchen can significantly slow down the process. If your kitchen is chilly, consider placing the dough in a warm oven with the light on (not turned on) to create a gentle warmth.
- Not Enough Time: Patience is key! Rising times can vary depending on the recipe, the type of flour used, and the room temperature. Don't be tempted to cut the process short. Let the dough rise until it doubles in size, and resist the urge to peek constantly, as this can deflate the dough.
- Dry Environment: Dry air can form a crust on the dough's surface, preventing it from rising evenly. Cover the dough loosely with plastic wrap or a damp cloth to create a humid environment.
Mistake No. 5 - Do You Not Know These Oven Tips?
- Incorrect Oven Temperature: An underheated oven won't provide enough heat to activate the yeast and promote rise. Conversely, an overheated oven can kill the yeast and scorch the outside of the bread before the inside has a chance to rise fully. Double-check your oven temperature with an oven thermometer for accuracy.
- Letting Out the Steam: Steam is crucial in the initial baking stage. It helps create a soft crust and allows the dough to continue rising in the oven. Consider throwing a few ice cubes into a preheated pan on the oven floor to create a burst of steam, or mist the oven walls with water just before placing the bread inside.
Bonus Tips:
1. Use Bread Flour:
Bread flour has a higher protein content than all-purpose flour, which translates to a stronger gluten network and better rise.
2. Autolyse:
Many bread recipes call for an autolyse step, where the flour and water are mixed and allowed to rest for 20-30 minutes before adding other ingredients. This hydrates the flour and jumpstarts gluten development, leading to a better rise.
Remember, baking is a journey of learning through experience. Don't get discouraged by setbacks!
Track Latest News Live on NDTV.com and get news updates from India and around the world

