
Whether you spend most of your hours typing at a keyboard, rustling up a tasty meal or leafing through research papers, there's something appealing about doing it with groomed, lacquered nails. It's natural to save freshly manicured fingers for special occasions, because checking into the salon every week or fortnight can be mighty expensive. That's why we're here you tell you that it's possible to get a manicure from the comfort of your home. All you need to do is sit back and follow this 9-step DIY guide.
Step 1 - Soak a clean cotton pad with nail varnish remover like Revlon's Nail Enamel Remover and use it to remove old, chipped nail paint. Make sure you get all the paint from the sides as well.
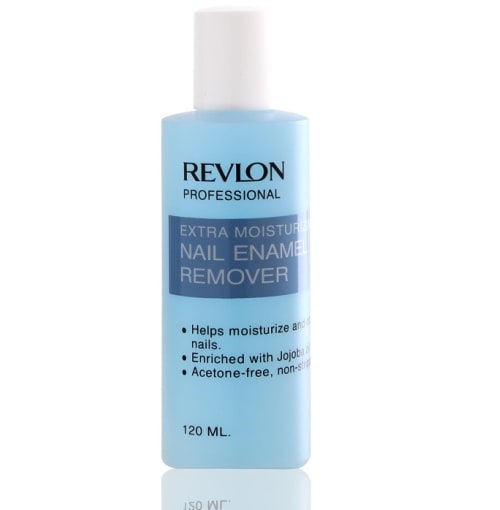
Photo Credit: www.tokopedia.net
Step 2 - Bring out your nail clipper now and decide your nail length and their shape, whether square, round or almond. Clip your nails to length, but never shorter than the length of your fingers.
Step 3 - Use a flat nail scraper to go slightly under your fingertip and remove any gunk from under your nails.
Step 4 - Use a nail file like Leighton Denny's Crystal Nail File to gently file the tip of your nails into the desired shape. A crystal or glass file is ideal, because it prevents any nail breakage from occurring.
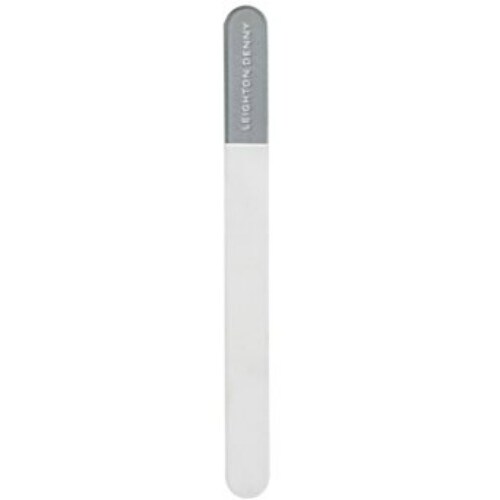
Photo Credit: www.aplava.com
Step 5 - Now comes the relaxing part. Immerse your hands in a basin filled with warm water, a few drops of liquid soap and lavender oil until the water runs cold. Then remove your hands, wipe them and let them air dry naturally for 10 minutes.
Step 6 - Use the rounded edge of your file or nail pushing tool to push back the nail bed just a tad. This will elongate the nail and make it appear bigger.
Step 7 - Now get a buffer like Oriflame's The One Buffer and rub it gently over the nail bed to even it out. Wipe the nails and rub the third side over each nail to smoothen any ridges on them. Wipe again. And finally, rub the fourth side over the nails to give it a shiny finish without nail polish.

Photo Credit: www.aplava.com
Step 8 - Dust your nails so that no residue remains, and then apply a clear base coat like the Lauren B. Base and Top Coat over each of your nails. Leave it to dry for 15 - 20 minutes and proceed to apply a nail varnish colour of your choice.
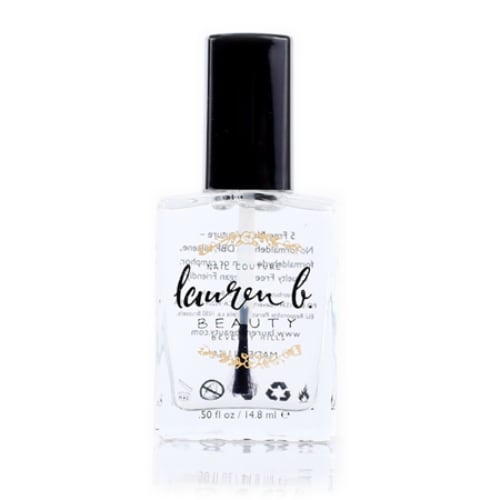
Photo Credit: www.laurenbbeauty.com
Step 9 - Once the nail varnish has dried for 20 minutes, finish off by applying a clear top coat to protect the nail varnish from chips and scratches.
There you have it - a salon-worthy manicure at a fraction of the cost and within the comfort of your home.
Track Latest News Live on NDTV.com and get news updates from India and around the world
