The 5-Minute Hair Straightening Routine That Saves You Time Every Morning

Time is precious, especially in the morning rush. Between hitting snooze one too many times and scrambling to get out the door, hair styling often takes a backseat. But achieving sleek, salon-worthy hair doesn't have to be a time-consuming ordeal. With the right tools, techniques, and a little know-how, straightening hair in just five minutes is entirely possible. This routine is designed for busy people who want polished, frizz-free locks without sacrificing sleep or sanity.
From prepping strands to choosing the right heat setting, these quick-fire tips make hair straightening effortless. Say goodbye to frazzled mornings and hello to a streamlined routine that delivers maximum results with minimal effort.
Also Read: Flat To Fab: Create These 8 Easy Hairstyles Using Hair Straightener

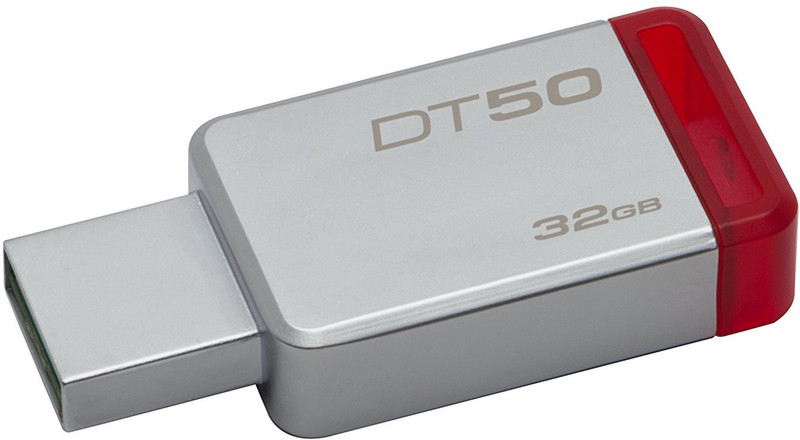
Top Deals On Hair Straighteners From Myntra; Photo Credit: Pexels
The 5-Minute Hair Straightening Routine
Minute 1: Prep For Success
- Ensure hair is completely dry before straightening to prevent damage and achieve the best results. If necessary, use a blow dryer on a cool setting for a quick touch-up.
- Detangle hair with a wide-tooth comb or brush to remove knots and prevent unnecessary tugging.
- Apply a heat protectant spray to shield strands from heat damage. Focus on the mid-lengths and ends rather than the roots to avoid greasiness.
- Optional: If hair is particularly frizzy, apply a tiny amount of smoothing serum or lightweight oil to the ends.
Time-Saving Tip: If mornings are rushed, apply a leave-in conditioner or heat protectant the night before to cut down on prep time.
Minute 2: Section Smartly
- Divide hair into 2–4 sections depending on thickness. The easiest way is to part it down the middle and clip up the top layers.
- Work from the bottom layers first, this ensures a smooth finish while making the process quicker.
- Clip or tie back the top section to avoid interference while straightening the lower sections.
Time-Saving Tip: If short on time, focus only on the top layer and face-framing pieces, as these are the most visible.
Minutes 3–4: Straighten With The One-Pass Technique
Set the straightener to the correct temperature based on hair type:
- Fine/thin hair: 120–150°C
- Normal hair: 150–180°C
- Thick/coarse hair: 180–210°C
- Take small sections (about 1–2 inches wide). Smaller sections mean faster, more even straightening.
- Glide the straightener slowly from roots to ends in one single motion to avoid the need for multiple passes.
- Use a fine-tooth comb in front of the straightener for smoother results and better heat distribution.
- Repeat for each section, moving from bottom layers to top.
Time-Saving Tip: If hair is naturally straight or only slightly wavy, running the straightener over each section just once is enough.
Minute 5: Finishing Touches For Long-Lasting Sleekness
- Run hands through hair to check for any missed spots. If necessary, do a quick touch-up on stubborn sections.
- Apply a tiny drop of anti-frizz serum or lightweight oil to the ends to keep them looking healthy and smooth.
- Mist with a light-hold hairspray or anti-humidity spray to lock in the style.
- For extra sleekness, use a cool blast from a hairdryer to seal the cuticle and reduce flyaways.
Time-Saving Tip: To make straightening last longer, sleep on a silk or satin pillowcase to reduce friction and prevent frizz overnight.

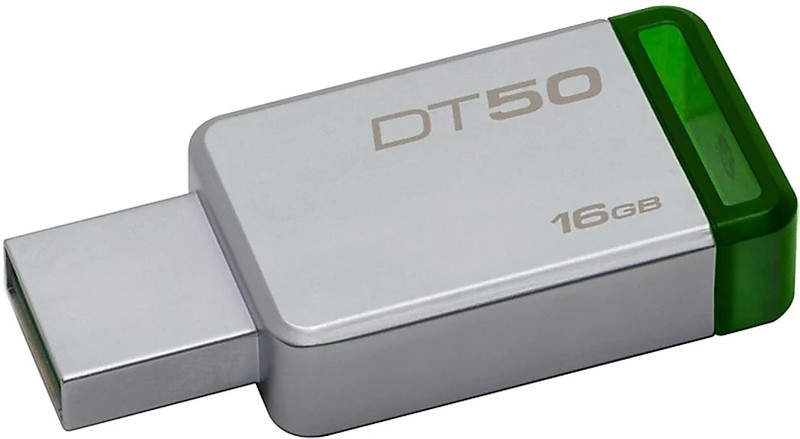
Top Deals On Hair Straighteners From Myntra; Photo Credit: Pexels
Bonus: Quick Tips To Cut Down Styling Time
1. Start With Dry, Detangled Hair
Straightening damp hair is a disaster waiting to happen, sizzling strands, damage, and an uneven finish are just the beginning. To speed up the process, always start with completely dry hair. Air-drying the night before or using a quick blow-dry with a heat protectant ensures a smooth base.
Tangles are another enemy of efficiency. Running a straightener over knotted hair leads to uneven results and unnecessary tugging. A wide-tooth comb or detangling brush glides through strands effortlessly, preventing unnecessary breakage and cutting styling time in half. A quick brush-through before straightening means fewer snags, smoother strokes, and a sleek finish with minimal effort.
A simple rule: the smoother the starting point, the faster the straightening. With dry, detangled hair, the straightener can work its magic in a single pass, saving both time and heat damage.
2. Use A Heat Protectant, Always
Rushing out the door with smoking-hot hair isn't exactly a winning look. Heat styling can zap moisture, leaving strands dry, brittle, and lifeless. The secret weapon? A good heat protectant.
Spritzing a lightweight, heat-resistant spray or serum onto the hair before straightening creates a protective barrier, reducing the risk of damage. Look for formulas with keratin or argan oil, as these nourish hair while keeping frizz at bay. A fine mist ensures even coverage without weighing the hair down.
For best results, run your fingers through the hair after applying the protectant to distribute it evenly. This not only shields against high temperatures but also adds shine and softness, making the straightening process smoother and more effective. With this simple step, hair stays healthy, sleek, and protected, without the dreaded crispy ends.
3. Choose The Right Straightener And Heat Setting
Not all straighteners are created equal, and picking the wrong one can turn a five-minute routine into a frustrating battle. Ceramic plates are ideal for even heat distribution, while titanium heats up quickly for thicker hair. Investing in a high-quality straightener ensures fewer passes, less heat exposure, and better results.
Heat settings matter, too. Cranking up the temperature may seem like a shortcut, but it often leads to unnecessary damage. Fine or damaged hair does best at 150-180°C, while thicker or coarser strands may need 190-230°C. A lower heat setting with efficient styling techniques is always better than blasting hair with excessive heat.
A straightener with adjustable temperature settings gives control, making it easier to achieve sleek results without compromising hair health. The right tool and temperature make all the difference in cutting down styling time while keeping hair smooth and damage-free.

Top Deals On Hair Straighteners From Myntra; Photo Credit: Pexels
4. Section Smartly For Speed
Straightening the entire head in one go? That's a recipe for uneven results. Instead, strategic sectioning speeds up the process and ensures every strand gets the attention it deserves.
A quick trick: split hair into just two or three large sections. For fine hair, dividing it in half, top and bottom, works well. Thicker hair benefits from three sections, bottom, middle, and top. Clipping each section up allows easy access to the lower layers first, making the process more efficient.
Working in small, manageable portions ensures the straightener glides smoothly, needing just one or two passes per section. No unnecessary redoing, no extra heat exposure, just sleek, polished hair in record time.
5. Master The One-Pass Technique
Dragging a straightener over the same section repeatedly isn't just time-consuming, it's damaging. The key to fast styling is the one-pass technique.
Instead of rushing through multiple swipes, go slow and steady. Clamping the straightener at the root and gliding it down in one fluid motion locks in smoothness instantly. Using a fine-tooth comb alongside the straightener helps guide the hair, ensuring even heat distribution and eliminating stubborn kinks.
A single, controlled pass reduces frizz, keeps hair shiny, and minimises heat damage. It's all about precision over repetition, one smooth stroke beats five hurried ones any day.
6. Focus on the Face-Framing Sections
Let's be honest, not every strand needs to be pin-straight. When time is tight, prioritising the front sections creates the illusion of a sleek style with minimal effort.
Face-framing layers tend to draw the most attention, so ensuring they're polished instantly elevates the overall look. Running the straightener over the top layer and the strands around the face creates a neat, put-together appearance, even if the rest of the hair isn't perfectly straightened.
For an extra touch of sophistication, slightly curve the straightener inwards at the ends. This softens the look, avoiding that overly flat, lifeless effect. A little styling in the right places makes all the difference in faking a fully styled finish when time is short.

Top Deals On Hair Straighteners From Myntra; Photo Credit: Pexels
7. Lock In The Look With A Lightweight Serum
Straight hair can turn frizzy in an instant, especially in humid or damp weather. A quick finishing touch keeps everything in place while adding that glossy, salon-fresh shine.
A few drops of lightweight serum or anti-frizz oil smooth flyaways and enhance sleekness. Rubbing a small amount between the palms and lightly running hands over the hair distributes the product without making it greasy. Focusing on the ends prevents dryness and adds a healthy, polished finish.
For extra hold, a light mist of anti-humidity hairspray keeps the style intact throughout the day. This final step ensures the effort put into straightening doesn't go to waste, keeping hair smooth and frizz-free from morning till night.
8. Refresh And Restyle The Next Day
The beauty of a well-styled look? It can last beyond just one day. Instead of repeating the whole process, a quick refresh is all that's needed for a second-day sleek style.
Before bed, tying hair in a loose low ponytail or wrapping it in a silk scarf prevents creases. In the morning, a touch of dry shampoo at the roots revives volume, while a light brush-through restores smoothness.
If needed, a few touch-ups with the straightener on the front layers or any unruly strands bring back the polished finish, without a full redo. With this trick, straightening hair doesn't have to be a daily task, cutting styling time even further.
Explore Products Related To This Article
1. VEGA VHSH-31 Digi-Style Hair Straightener With 5 Temperature Settings - Purple
2. Philips Hair Straightener BHS216/00 With Ceramic Plates
3. Morphy Richards Estella HS2500 Temp Control Hair Straightener
4. Havells Men Pink HS4109 Black Ceramic Plates Fast Heat Up Hair Straightener
5. Havells Women Wide Plate Hair Straightener HS4121
6. Morphy Richards KeraFlow HS3500 Keratin Hair Straightener
7. Ikonic Professional Pro Straight Hair Straightener With Nano Titanium Technology
8. VEGA Women Hair Straightener Brush With Ionic And Thermoprotect Technology VHSB-04
Straightening hair in five minutes may sound too good to be true, but with the right approach, it's entirely possible. A little preparation, smart sectioning, and efficient techniques make all the difference. By focusing on key areas and using the right tools, achieving a sleek, polished look becomes effortless, even on the busiest mornings. Gone are the days of sacrificing sleep for styling. With this routine, smooth, frizz-free hair is just five minutes away, leaving more time to enjoy that morning coffee. Shop Now On Myntra
Disclaimer: The images used in this article are for illustration purposes only. They may not be an exact representation of the products, categories, and brands listed in this article.